Sunday, September 28, 2014

Nanna's Chili Sauce

I was a little girl the first time I tasted my great grandmothers chili sauce recipe.  We called her Nanna. 


My grandmother, Marion Smith Nelson used to make it in cute little half pint jars. 


My cousins used to call it sweet salsa. My own children love it on scrambled eggs, as do I ;-)


I love canning, especially when my family LOVES what I make...and when they help out with the process ;-)

Friday, September 26, 2014

Sew Together Bag on Steriods ;-)

It is no mystery that I am in love with Sewdemented's pattern for her Sew Together Bag!  I have made several.


My sister loved mine and wanted one for herself, but she needed a little more room.


I added a few more inches here and there to the pattern to make a bag my sister could carry diapes and wipes in ;-)


The Sew Together Pattern is available on Craftsy and on SewDemented's own on line shop. 

The fabric is from the collection Terra Australis. I LOVE it!!!


I love sewing!  It's the BEST!!!

Wednesday, September 24, 2014

Glamping K Pouch

(That sounds so much better than the Wee Wander P Pouch!!!)


My sweet niece Kenzie ended up in the hospital with an emergency appendectomy yesterday :(


Fortunately they got it before it ruptured :-)


I thought a fun little zippered pouch would be perfect for her recovery :-)

Monday, September 22, 2014

#eatathomechallenge

My friend Amy over at sukiedontyouknow.com has issued a challenge and my family is 100% in!


We are committed to NOT eating out for 31 days!

Here is the menu that we came up with :-)


Now to create a shopping list and buy everything :-). ...well, except the produce. I'll buy that every week along with the milk, eggs and bread :-)

The hardest thing for me will be not going out to lunch with my friends :(. I love that!

If you are on Instagram or Twitter, the use the hashtag in the blog title ;-)

Leave a comment to let me know if you will be joining us :-)

Ps- for those who are curious about what Funeral potatoes are, here is a link to several recipes. 

http://www.ldsliving.com/story/75517-10-funeral-potatoes-recipes-to-die-for

Saturday, September 20, 2014

Wee Wander "P" Pouch

(I realize the blog post title sounds funny ;-).  It's kinda cracking me up.)

Tomorrow is my nieces birthday party to celebrate her turning 12. 


I figured a zippered pouch for big girl stuff, like make up, would be perfect :-)


She loves blue and all bright colors. I just knew that Sarah Jane's Wee Wander collection would be perfect :-)


I can't wait to give it to her!

Wednesday, September 17, 2014

The Rest of the Round Robin Quilts

Here are the last three completed quilt tops that were not at our groups big reveal. 

Maggie's

Ella's

And Ambers's :-)

You will be able to see them all live and in person at the 2015 HMQS in Salt Lake City Mother's Day weekend :-)

April Showers Baby Blanket

Have you ever had one of those moments when you realize that your sister in law is having a baby tomorrow and you are a quilter and haven't made her baby a quilt yet?


This is my very story!  My truth.  My life! ...yesterday afternoon :/


Luckily I am a manic quilter with a healthy stash of sa-weet fabric!  ...including this super awesome charm pack of April Showers that I bought for TWO DOLLARS from Southern Fabric a while back :-)


I needed something simple and sweet (and quick).   I simply cut strips of white fabric 1.5" wide. I sewed the white strips to two adjacent sides of each charm square.  (I strip pieced all of the blocks)


...and then laid them out like so...


...and sewed them up :-). You will need to add a strip of white to the two sides that are missing white ;-)


I prefer this method to others as this method makes it really easy to match and nest your seams for perfect intersections :-)


For this baby quilt I used one charm pack and less than 3/4 yard of white. 


The backing is an old piece of a Michael Miller print I have had for years!


I used the same fabric for the backing and the binding. 


For the free motion quilting, I did a swirl pattern. 


The finished size is 34.5" x 40". The perfect baby size quilt :-)

Monday, September 15, 2014

Liesel's Heart

Hello quilting friends!!! Long time no chat! :-). With electronic changes around here, I just haven't gotten used to the new way I have to blog (plus Instagram is just so darn easy for lazy me ;-))


Any hoots, I promised a pattern for this super CUTE quilt I made for my nieces baptism last week.  Here is the basic 411 on this super quick and easy quilt!


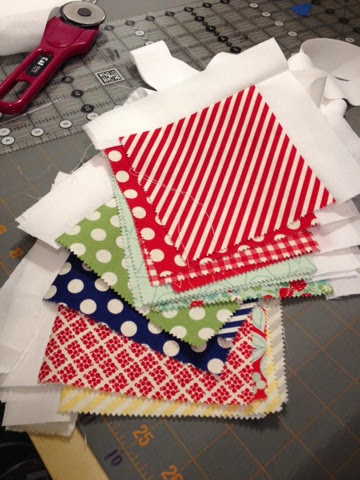
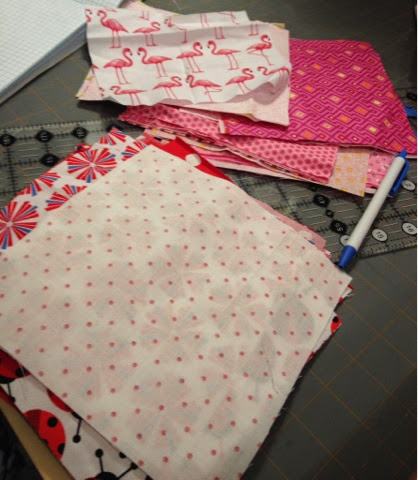
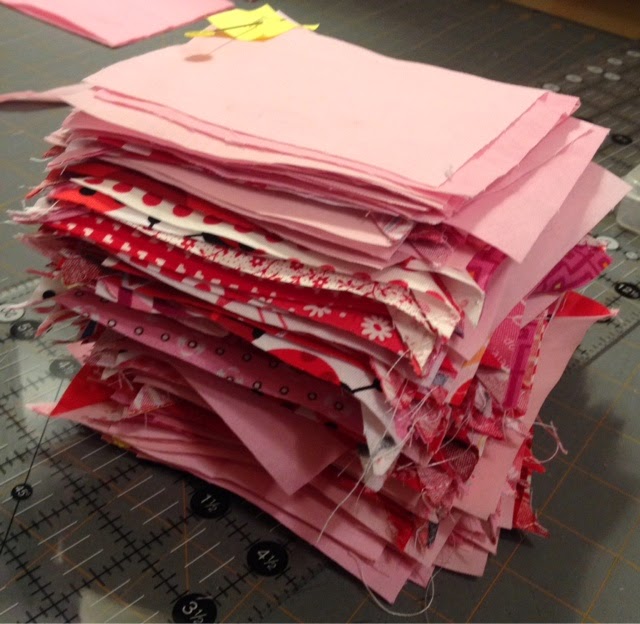
Liesel's favorite colors are red and pink. I went through my stash looking for all of the reds and pinks that I could find. My mom sent over a few cuts of fabric for variety and sentiment. This quilt was made out of 100% stashed fabric ;-). Yeah me!


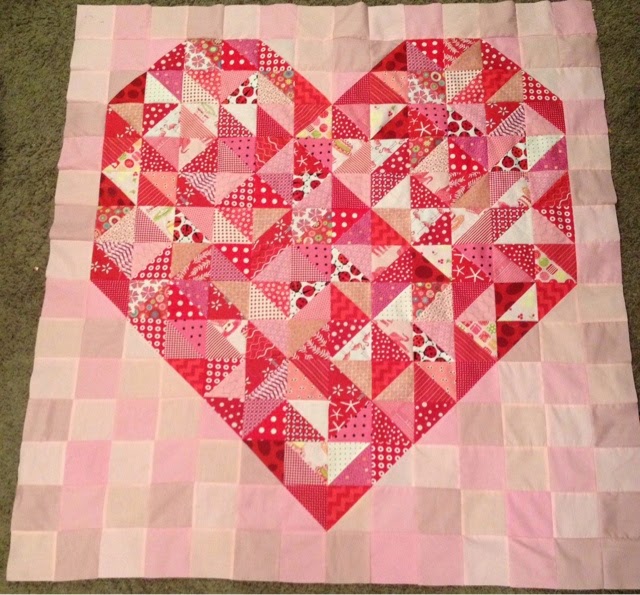
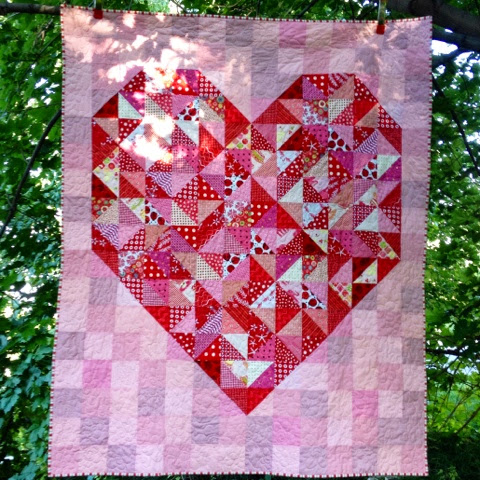
I have seen lots of pixelated hearts on line, but really thought some half square triangles would be AWESOME! 


For this quilt I used 6.5" squares and 4.25" squares. You will need:
31- 6.5" red print squares
26- 6.5" pink print squares
5- 6.5" squares of various pink solids
116- 4.25" squares of various pink solid fabrics. 


For the half square triangle construction, use the method found HERE on my blog.   Basically, you will make 26 pairs, one pink print 6.5" block with one red print 6.5" block. There will be five red print blocks left over that you will pair with the 5- 6.5" varied pink solids.   Pair them all together, right sides together.   Using a quarter inch seam allowance, sew around all four sides of each pair. Follow the directions found in the link above (and HERE for added measure ;))


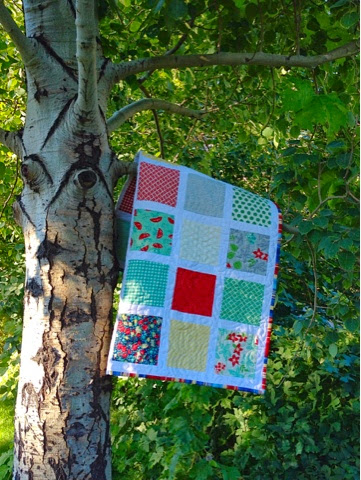
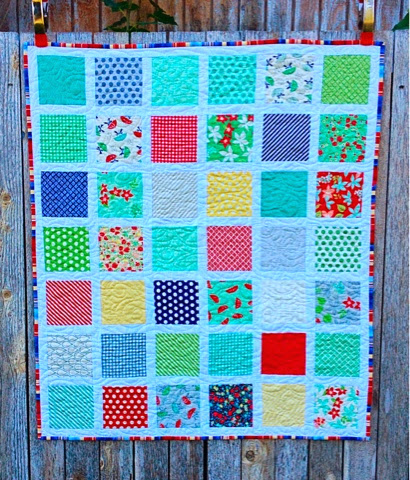
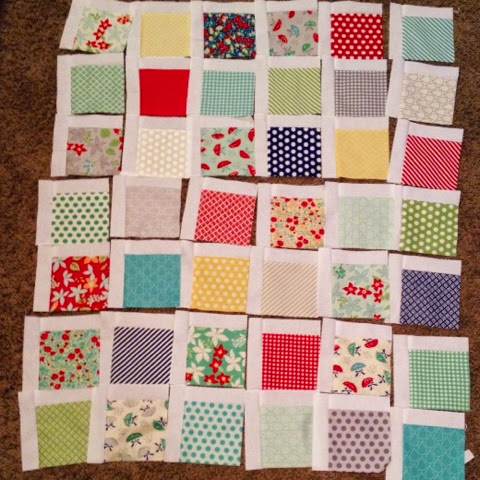
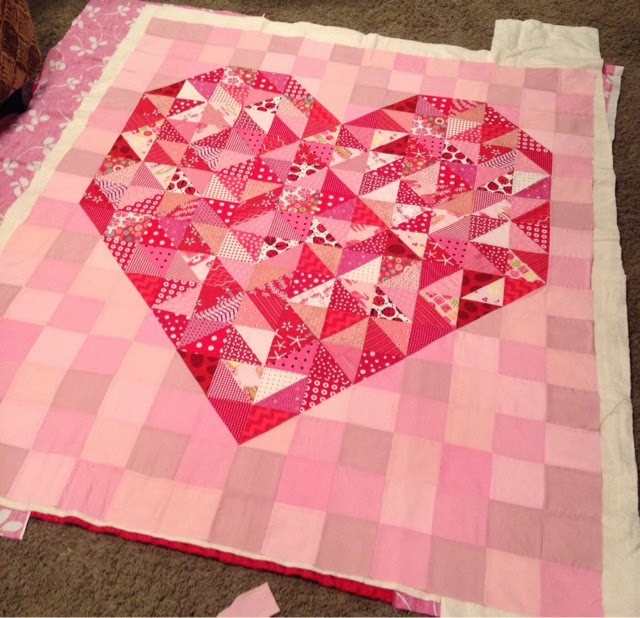
Once you have pressed all of your HST's, its time to lay them out.  Follow the pictures above and below. For the ten red and pink print HST's on the sides and the four on the top of the heart, I made sure the the red print was touching the pink background fabric.  The trick with the heart layout is to no obsess about it!  Pretend that you are a carefree (non-OCD) quilter and that random is a happy place we like to be :)  


The quilt is 14 blocks across and 17 down.  I sewed the blocks into rows and then I sewed the rows together to complete the top.   The finished quilt top size is 52.5"x 63.75"


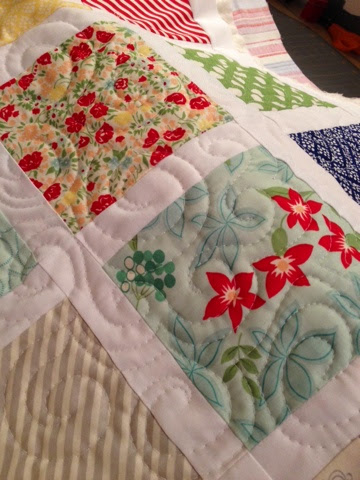
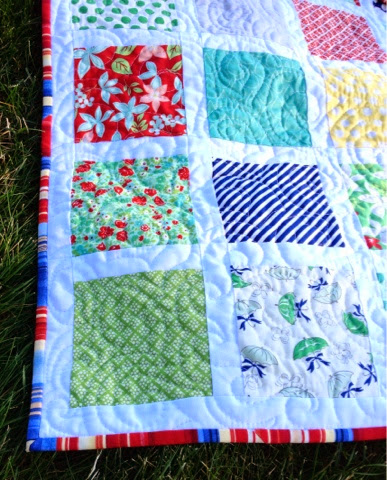
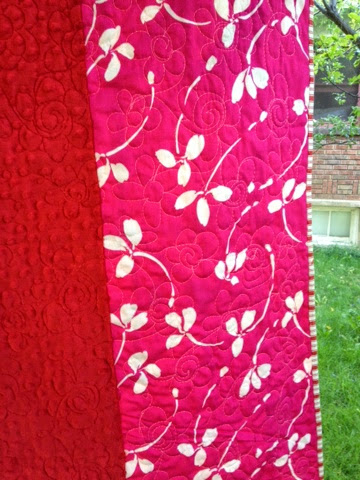
No that your top is finished, quilt, bind and enjoy!! :)


As a super fun side note, my friend Barbie showed me how to wrap my binding so that it unwinds itself perfectly to sew onto the quilt.


Make this figure 8 on your hands and then put it on the floor to your right. (put the side you can see in the picture down on the floor.  The loose that you start sewing onto the quilt will be right there)


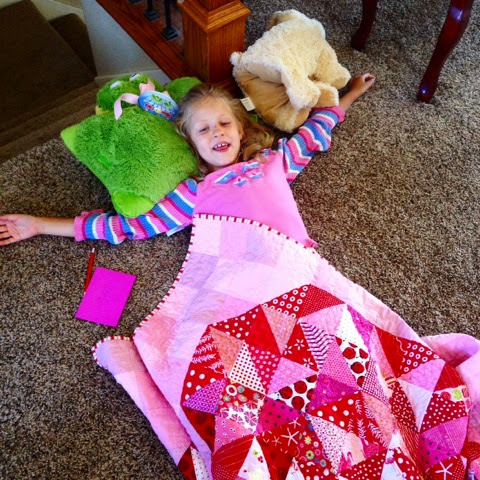
Here is sweet Liesel lazing about on the floor with her quilt and pillow pets :-)